Established in 1992 with a registered capital of $5.2 million USD from Australian sole-ownership enterprises, and boasts a 72,000 square meter factory zone. - Custom Injection Molding Machine Manufacturers
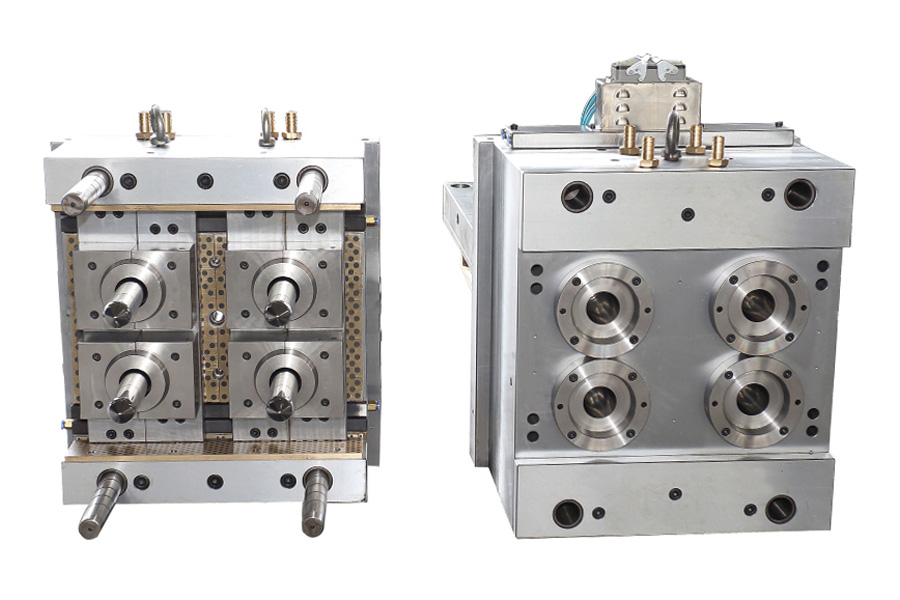
4 Cavity 3-Gallon Preform Mold

This helps keep the cap from sticking to the core. Lastly, you can fill the mold with dice.To create a cap mold, you must first prepare the mold. The silicone must be poured slowly onto the dice. The silicone should cover the entire surface. Once it reaches the desired thickness, you can remove the mold carefully. Use a mold release solution or Vaseline to clean it thoroughly. You can also tap the cap to release any trapped bubbles.When you're designing a plastic cap mold, you should consider how easy it is to remove the cap after it has dried. The process is usually fairly easy but it depends on many factors.The first step in designing a cap mold is to create the actuator part.
The actuator is the part that aligns with the inner rod during the molding process. Ensure that the dimensions of the actuator part are accurate by using smart dimensioning. To do so, open the actuator part file. Press CTRL+C to copy the sketch and then CTRL+V to paste it. Once you have done this, make sure that you set a rectangle around the sketch to define the edges of the mold cap.Designing a cap mold also requires considering the cooling needs of the product. Proper cooling is essential for reducing deformation of the product and shortening the injection cycle. One way to ensure the cooling of the mold is to ensure that the water channel diameter is adequate. Another way of cooling the mold is to add steel pipes in the cooling circuit.
Lastly, design a mold with the correct number of cavities. The number of cavities will depend on the size of the product and the volume of injection. It is also necessary to think about the clamping force and the volume of the mold. Depending on the application, you can choose to produce a cap mold with only one cavity or as many as ten cavities.The mold must be carefully designed to ensure it produces a high quality finished product. The design of the mould will determine the shape and surface finish of the finished product. The design must also consider sprue gate and shear edges, as well as flow aids. Also, cooling and ejection techniques should be considered.


 English
 中文简体
中文简体 русский
 Español
 Français


